To delete a premiere pro project, open premiere pro and locate the project in the project panel. Right-click on the project and select “delete.”
You can also press “delete” on your keyboard after selecting the project. Premiere pro is a popular video editing software developed by adobe. Over time, you may accumulate multiple projects that are no longer needed. Deleting these projects helps free up storage space and declutter your workspace.
We will guide you on how to easily delete a premiere pro project. We will provide step-by-step instructions to ensure a smooth deletion process. Whether you want to remove old projects or simply clean up your project list, we’ve got you covered. Continue reading to learn how to delete a premiere pro project.
Understanding The Risks Of Not Properly Erasing Projects
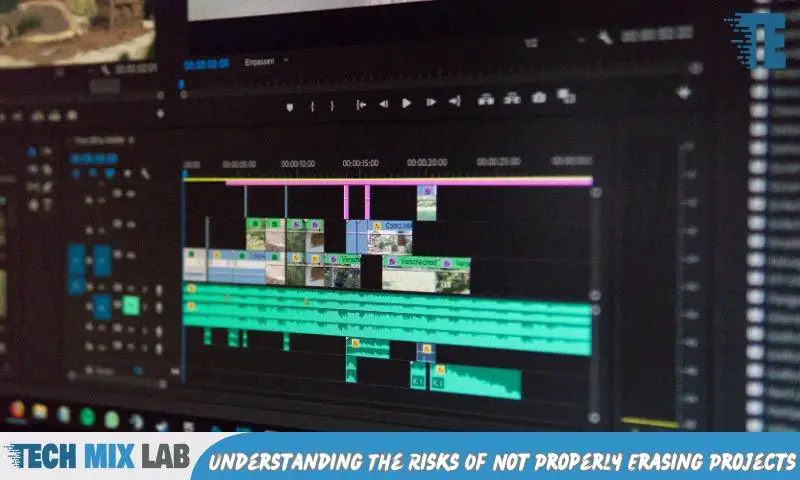
Understanding the risks of not properly erasing projects is crucial. There is a potential for unauthorized access to your premiere pro project, which can lead to legal and copyright implications. Protecting sensitive client information should be a top priority. By not deleting a premiere pro project properly, you are putting your clients’ trust at risk.
Unwanted access to confidential data can have severe consequences, including legal disputes and damage to your reputation. To avoid these risks, ensure you follow the proper steps to delete a premiere pro project securely. Take the time to remove any trace of sensitive information to safeguard your clients and your business.
Remember, prevention is always better than dealing with the aftermath of a security breach.
Step-By-Step Guide To Permanently Erase A Premiere Pro Project
Deleting a premiere pro project is a straightforward process. First, make sure to back up your project before deletion. This ensures you have a copy in case you need it later. Next, within the premiere pro application, locate the project you want to delete.
Simply right-click on the project and select “delete. ” Confirm the deletion and the project will be removed from your premiere pro workspace. Additionally, if you have project files stored on external storage devices, like hard drives or USBs, you must also manually remove them.
Connect the external storage device to your computer and locate the project files. Again, right-click on the files and choose “delete” to permanently erase them. By following these step-by-step instructions, you can easily delete a premiere pro project without any hassle.
Implementing Best Practices For Safe Project Erasure
Premiere pro projects can be deleted following best practices for safe erasure. Utilizing encryption adds an extra layer of security. Regularly updating and patching premiere pro is crucial. Temporary and backup files should be securely erased as well.
Ensuring Complete Erasure: The Importance Of Data Wiping

Deleting a premiere pro project involves more than just hitting the delete button. It’s crucial to ensure complete erasure by understanding data remnants and their risks. Utilizing data-wiping software is essential for secure deletion, preventing any potential data breaches.
Adhering to industry standards for data destruction adds an extra layer of protection. By following these guidelines, you can effectively delete a premiere pro project, safeguarding sensitive information from unauthorized access. Remember, proper disposal of data is crucial in today’s digital landscape.
Securing Client Confidentiality Through Permanent Project Erasure
Securing client confidentiality is paramount, especially when deleting a premiere pro project. With data protection regulations becoming increasingly stringent, addressing client concerns and expectations is crucial. To ensure compliance, extra steps should be taken to protect sensitive information.
With these guidelines, deleting a premiere pro project while maintaining client confidentiality becomes a straightforward process.
Maintaining A Clean Workflow: Organizing And Deleting Unused Projects
Maintaining a clean workflow includes organizing and deleting unused projects to optimize premiere pro performance. By identifying and removing unnecessary project files, you can declutter and improve efficiency. Effective project organization and storage practices are crucial for a seamless editing experience.
Keep track of your projects, categorize them, and delete ones that are no longer needed. This will free up space and make it easier to locate and navigate through your active projects. By following these best practices, you can ensure a smooth editing process and avoid the frustration of cluttered project folders.
Take control of your premiere pro projects and delete unused files for a more streamlined workflow.
Securely Erasing On Different Operating Systems
To securely delete a premiere pro project on Windows, follow these steps for permanent removal. On MacOS, ensure complete erasure of premiere pro projects to protect sensitive data. For Linux users, practicing safe deletion techniques is essential when deleting projects in premiere pro.
By adhering to these guidelines, you can delete your premiere pro projects with confidence.
Additional Tools And Techniques For Permanent Erasure
Deleting a premiere pro project requires additional tools and techniques for permanent erasure. One way to ensure added security is by utilizing file shredding software, which encrypts project files for protection during deletion. The deleted files cannot be recovered or accessed by unauthorized parties thanks to this software.
Another option is to hire professional data destruction services that specialize in securely erasing sensitive data. These experts follow strict protocols to ensure that all traces of the project are completely removed from the system. By employing these measures, you can confidently delete your premiere pro project, knowing that it is permanently and securely erased.
FAQ
How Do I Delete A Premiere Pro Project?
To delete a premiere pro project, simply locate the project file in your computer’s file explorer and delete it.
Can I Recover A Deleted Premiere Pro Project?
Once you delete a premiere pro project, it cannot be recovered. It’s essential to ensure you have backups before deleting any projects.
What Happens If I Delete Media Files In Premiere Pro?
If you delete media files within premiere pro, they will be permanently removed from your project timeline and cannot be recovered.
Conclusion
Deleting a premiere pro project is a simple process that can help you free up valuable space on your device and keep your workspace organized. By following a few easy steps, you can remove unwanted projects and keep your editing experience smooth and efficient.
Start by locating the project you wish to delete, either in the project panel or in your file explorer. Then, right-click on the project and select “delete” from the drop-down menu. Confirm your decision by clicking “OK” in the pop-up window.
It’s important to remember that once a project is deleted, it cannot be recovered, so be sure to double-check before making a final decision. By regularly deleting unwanted projects and keeping your workspace tidy, you can ensure smoother editing experiences in adobe premiere pro.
So, go ahead and start decluttering your projects today!