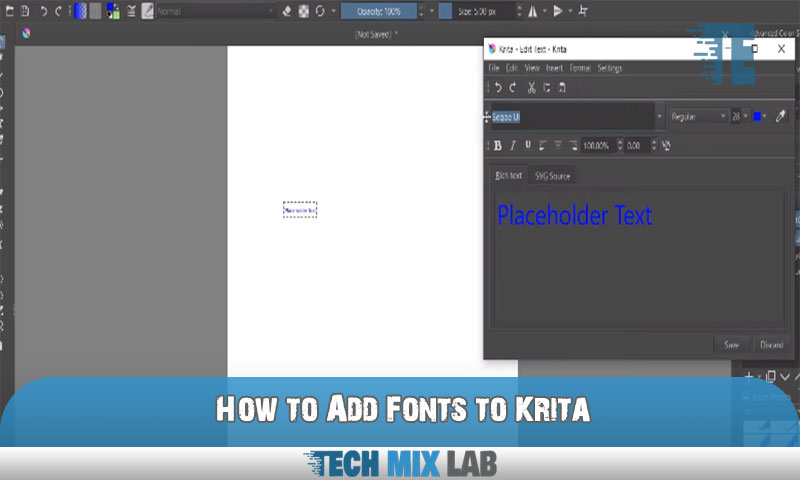
To add fonts to Krita, follow these simple steps. Import the desired font file into your system’s font library, and then restart Krita for the new fonts to appear in the font selection menu.
By doing this, you’ll have access to a wider range of fonts to use in your Krita projects. Creating visually appealing artwork often requires the use of various fonts to enhance the overall design. If you’re using Krita as your preferred digital art software, you might want to extend your font library beyond the default options.
Fortunately, adding new fonts to Krita is a straightforward process. This tutorial will guide you through the necessary steps to import and use your desired fonts within the program. With a broader selection of fonts at your disposal, you can unlock new possibilities for typography and design in your Krita projects.
The Power Of Personalized Fonts
Personalized fonts can add a touch of uniqueness to your designs, allowing you to showcase your creativity in a distinct way. By using fonts that are tailored to your style, you can give your artwork a truly personalized touch. With a wide range of font options available, you can explore various styles, from elegant scripts to bold and modern typefaces.
These unique fonts have the power to make your designs stand out and create a lasting impression. Whether you’re designing a logo, creating digital art, or designing a website, incorporating personalized typography can enhance the overall aesthetic appeal. So, why settle for generic fonts when you have the opportunity to take advantage of the power of personalized typography?
Embrace the world of unique fonts and unlock new possibilities for your creative projects.
Getting Started With Fonts In Krita
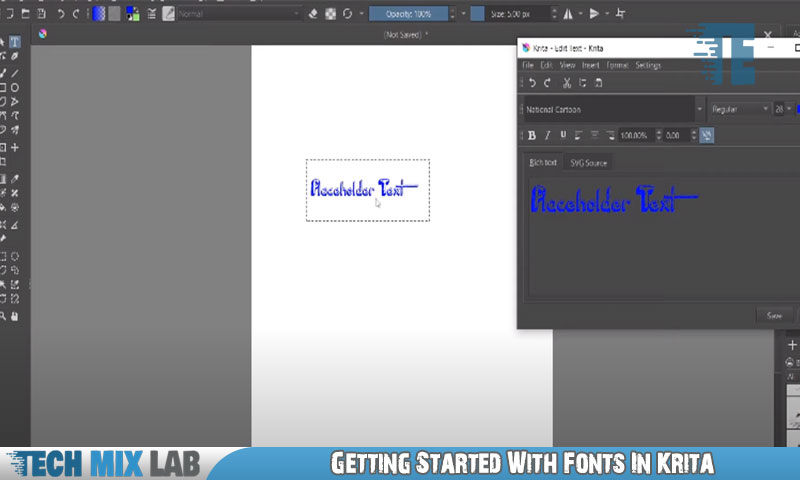
Krita, a popular graphic design software, provides a range of font capabilities for users. Familiarize yourself with how fonts work in Krita to enhance your design projects. Accessing and managing fonts is easy, and this blog post will guide you through the process.
Finding The Perfect Font For Your Project
When looking for the perfect font for your project, there are various online resources available for downloading fonts. These resources offer a wide range of options to suit different styles and moods. It is important to choose the right font style that complements the overall design and conveys the desired message.
Consider the mood you want to create and select a font that aligns with it. Whether you’re aiming for a professional, playful, elegant, or bold look, there’s a font out there for every project. Take your time to explore different options and consider how each font enhances the visual appeal of your work.
By finding the perfect font, you can elevate your project to new heights and make a lasting impression on your audience.
Installing Fonts In Krita
If you want to add fonts to Krita, it’s fairly simple. First, locate the font files on your computer. Next, open the Krita application and navigate to the “Settings” menu. From there, select “Manage Resources” and click on the “Fonts” tab.
Now, click on the “Open Resource Folder” button, which will open a folder on your computer. Copy and paste the font files into this folder. Finally, close and reopen Krita and your newly added fonts should appear in the font drop-down menu.
If you encounter any issues during the font installation process, there are a few common troubleshooting steps you can try. Make sure the font files are in a compatible format (TrueType or OpenType) and not corrupted. Restart Krita and your computer to refresh the system.
If the fonts still don’t show up, double-check that they are placed in the correct folder. By following these steps, you’ll be able to easily add and use custom fonts in Krita for your creative projects.
Customizing Fonts In Krita
Customizing fonts in Krita allows you to explore text tool options comprehensively. Adjusting font size, color, and spacing can significantly enhance your artistic expression. Utilizing these features effectively can help you create visually stunning artwork. With Krita’s intuitive interface, you can easily access various font options and personalize them to suit your style.
Experimenting with different fonts can add a unique touch to your designs and make them stand out. Whether you want to create striking digital paintings or professional-looking typography, customizing fonts in Krita offers limitless possibilities. Explore the text tool options, experiment with different fonts, and unleash your creativity to take your artwork to new heights.
Dare to be bold, and innovative, and express yourself with customized fonts in Krita.
Advanced Font Techniques In Krita
Adding fonts to Krita is a simple process that can enhance your designs. Advanced font techniques in Krita allow for dynamic text effects, such as layer effects. By incorporating textures and gradients into your font designs, you can create visually appealing and unique typography.
These techniques give your artwork depth and style, making it stand out. Experiment with different layer effects to achieve the desired look for your text. You can also play around with various textures and gradients to add more visual interest.
Whether you’re creating digital art or designing graphics, mastering these font techniques in Krita will take your work to the next level. So, start exploring and adding fonts to Krita today to unlock a world of creative possibilities.
Showcasing Your Font Creations
Promoting your font creations online is essential for showcasing your talent and reaching a wider audience. By following these guidelines, you can create visually appealing compositions with your fonts. Firstly, focus on creating unique and captivating typography that stands out.
Experiment with different font combinations to add variety to your designs. Secondly, pay attention to spacing and alignment to ensure readability and professionalism. Consistency in font size and style is key to maintaining coherence throughout your compositions. Thirdly, consider the context in which your fonts will be used and adapt them accordingly.
Whether it’s for logos, websites, or print materials, understanding the purpose will help you create fonts that capture the essence of the project. Lastly, engage with the design community by sharing your work on platforms like Behance or Dribble and participating in font design competitions.
Never underestimate the power of networking and feedback to improve your craft. So, start sharing and promoting your font creations today to gain recognition and expand your opportunities.
Expanding Your Font Collection
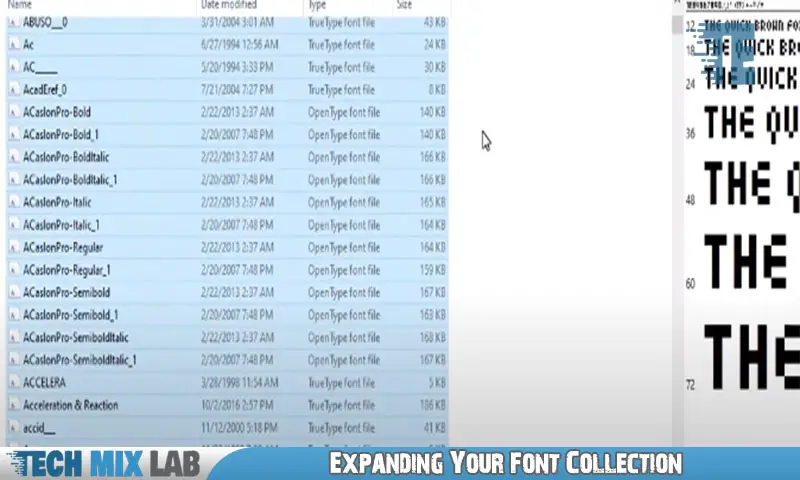
Expanding your font collection is essential for future creative projects in Krita. Building a library of fonts not only adds variety to your designs but also allows for more customization. To effectively manage your fonts, explore advanced techniques such as organizing them into categories or folders based on style and purpose.
Utilize font management tools to easily access and preview different typefaces before incorporating them into your artwork. Regularly update and expand your font library by exploring websites that offer free or paid font downloads. With a diverse collection of fonts at your disposal, you can enhance your artistic expression and add a unique touch to your Krita designs.
So, start building your font library today and unlock unlimited creative possibilities.
FAQ
How Do I Import Custom Fonts?
To import custom fonts, follow these steps: 1. Download the custom font files in the correct format, such as. otf or. ttf. 2. Upload the font files to your website server or a content delivery network (CDN). 3. Use @font-face CSS declaration in your website’s stylesheet to specify the font family, font weight, style, and the path to the font files.
How Do I Change The Font In Krita?
To change the font in Krita, follow these steps: 1. Open Krita on your computer. 2. Go to the top menu and click on “Settings”. 3. From the drop-down menu, click on “Configure Krita”. 4. In the Configuration window, select “General” on the left sidebar.
How Do I Import Fonts Into Canvas?
To import fonts into Canvas, follow these steps. Firstly, open your Canvas account and go to the Design tab. Then, click on the “Fonts” option and select “Add Fonts. ” You will be redirected to the Font Library. Look for the font you want to import by using the search bar or browsing through the available options.
Conclusion
To sum up, adding custom fonts to Krita is a simple and effective way to enhance your creative projects. With the easy-to-follow steps outlined in this blog post, you can personalize your designs and make them truly unique. By leveraging the Font Manager and exploring different font resources, you can unlock a world of creative possibilities.
Remember to consider the licensing terms of the fonts you use and ensure they are compatible with Krita. Don’t be afraid to experiment and find the perfect fonts that best express your artistic vision. Whether you’re a graphic designer, illustrator, or digital artist, adding fonts to Krita can elevate your work to new heights.
So go ahead, explore the vast world of fonts, and let your creativity soar. Happy designing!