To remove a broken pin from a connector, you can use a pair of needle-nose pliers or a precision screwdriver. First, gently try to maneuver the broken piece out of the connector.
If that doesn’t work, you can try using a small amount of adhesive to lift the broken pin out. Removing a broken pin from a connector can be a frustrating task. Depending on the situation, it can be difficult to remove the broken piece without causing further damage to the connector.
However, with a bit of patience and some careful maneuvering, it is usually possible to successfully remove the broken piece. In this article, we will look at some effective methods for removing broken pins from connectors and provide some tips and tricks for avoiding this problem in the future.
Steps To Take Before Attempting To Remove Broken Pins
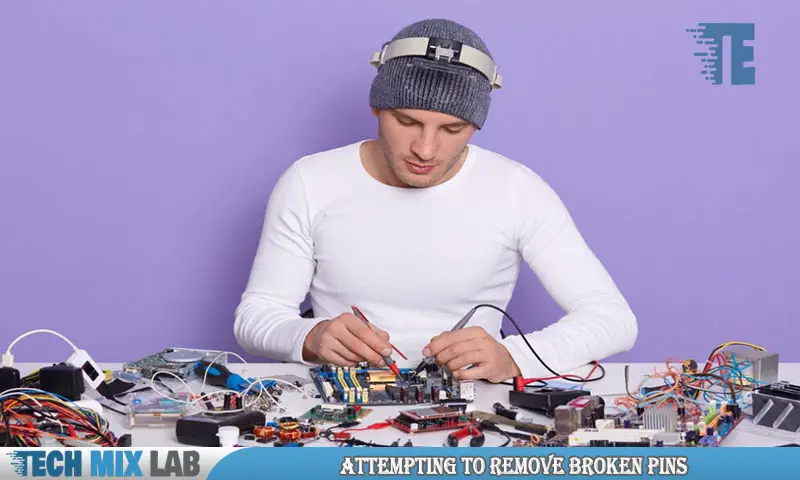
Tools Required To Remove Broken Pins
Before attempting to remove a broken pin from a connector, it’s essential to have the right tools to avoid worsening the situation. The tools required include:
- Small pliers: You’ll need pliers to grip the broken pin firmly for removal.
- Soldering iron: A soldering iron helps to soften the solder holding the pin so that it can be removed easily.
- Magnifying glass/loupe: You need a magnifying glass/loupe to aid in the proper inspection of the connector.
How To Inspect The Connector And Determine The Extent Of Damage
Before removing any broken pin from a connector, it’s essential to inspect and determine the extent of the damage to avoid causing further damage. Here are the steps to follow:
- Check for any physical damage: Examine the connector for any visible damage, such as cracks or loose wires, which could have caused the pin to break.
- Inspect the connection for foreign matter: Dirt, dust, or any other foreign debris could be causing the connection problem that led to the pin breaking off.
- Test the connector: Connect a device to the connector and see if it functions correctly. If there still seems to be an issue, there could be other underlying problems beyond the broken pin.
Tips To Protect The Electronic Device And Prevent Further Damage
When trying to remove a broken pin from a connector, it’s essential to take precautions that protect the electronic device and avoid causing further damage. Here are some tips:
- Turn off and unplug the device: This step helps to avoid electrical hazards while working on the connector.
- Insulate the surrounding areas: Use electrical tape or aluminum foil to insulate any nearby sensitive components while working on the connector.
- Be gentle: Use gentle force when removing the broken pin, as too much pressure can cause further damage.
- Remove any remaining debris: Use a small brush or air duster to remove any remaining dirt or debris from the connector before reconnecting the device.
By following these steps and taking precautions, you can safely remove a broken pin from a connector and minimize any further damage to your electronic device.
Different Methods To Remove Broken Pins
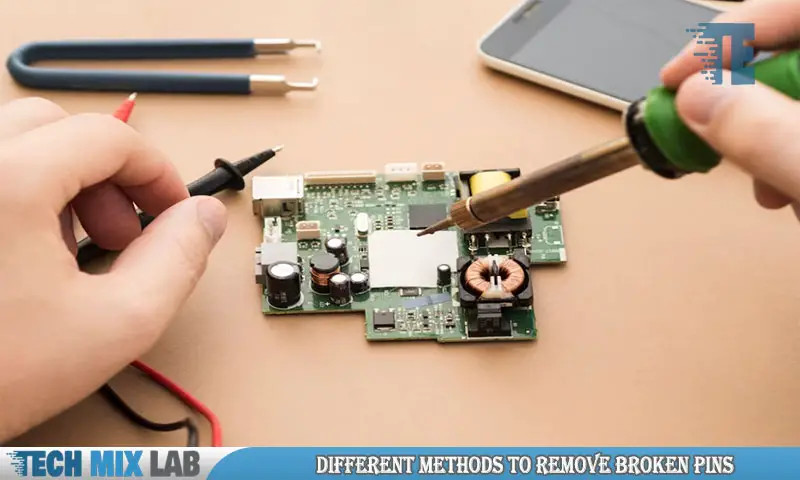
We’ve all been there; dealing with a broken pin on a connector can be frustrating. But don’t worry, we’ve got you covered. In this guide, we’ll explore three different methods to remove broken pins and provide you with tips on each method to make your life easier.
Method 1: Using A Needle Or A Pin
Using a needle or a pin to remove broken pins from connectors is one of the most straightforward methods. Here’s how to do it:
- Step 1: Find a suitable needle or pin that can fit inside the connector. You can use a sewing needle or a pushpin.
- Step 2: Gently insert the needle or pin into the broken pin and try to remove it slowly. Be careful not to break the pin further.
- Step 3: If you encounter resistance, apply a gentle twisting motion until the pin comes out.
Tips: Before proceeding, ensure that the needle or pin you want to use is clean. You can sterilize it with alcohol or disinfect it to avoid damaging the connector.
Method 2: Using A Soldering Iron
Using a soldering iron is another effective way to remove a broken pin from a connector. This method can be a bit tricky, so be sure to follow these steps:
- Step 1: Heat the soldering iron and then touch it to the broken pin for a few seconds to soften the metal.
- Step 2: Using pliers, carefully grip the pin with one hand, and with the other hand, slowly twist it while pulling it out of the connector.
- Step 3: If the pin doesn’t come out easily, apply more heat to it until it becomes soft enough to remove.
Tips: Be cautious while using a soldering iron to avoid burns or damage to the connector. Always consider wearing gloves, safety glasses, or anything that can protect you from possible hazards.
Method 3: Using A Hot Air Gun
The last method we’ll discuss is using a hot air gun. This method is particularly useful for connectors made of plastic. Here’s how to do it:
- Step 1: Heat the hot air gun and direct the heat towards the broken pin for about 20-30 seconds.
- Step 2: Using needle-nose pliers, grip the pin and pull it gently until it comes out of the connector.
- Step 3: Repeat the process if necessary until you’ve removed all of the broken pins.
Tips: Make sure that you manage the heat of the hot air gun to avoid damaging the connector. It’s best to work in a well-ventilated and clear workspace without any flammable objects.
Pros and cons of each method:
- Using a needle or pin: This method is inexpensive, easy, and doesn’t require any special tools. However, it may not be effective for broken pins that are challenging to reach due to their position inside the connector.
- Using a soldering iron: This method is more efficient, but it requires a soldering iron and experience using one. Improper use of the iron or lack of experience can damage the connector.
- Using a hot air gun: This method is also effective, but it requires a hot air gun, which can be quite expensive. It’s also crucial to handle it carefully to avoid damaging the connector.
Removing broken pins from connectors can be challenging, but with these methods and guidelines, we hope that we’ve helped you get the job done with less hassle. Remember to proceed with care and precision to avoid causing more damage.
Common Mistakes To Avoid When Removing Broken Pins
Removing a broken pin from a connector can be a tricky task, requiring patience and finesse. It’s essential to avoid making common mistakes that can further damage the connector. Here are some tips to help you avoid these mistakes:
Complications That Can Arise During The Removal Process
Removing a broken pin from a connector can be a challenging task, and complications can arise during the process. Here are some potential problems you might encounter:
- The pin may be stuck firmly in the socket, requiring additional force to remove it.
- The socket may be damaged from previous attempts to remove the broken pin, making the process more difficult.
- The connector’s delicate structure may make it challenging to access the broken pin and remove it without causing further damage.
How To Avoid Creating Further Damage To The Connector
Removing a broken pin from a connector can be a delicate process. Here are some tips that can help you avoid causing further damage to the connector:
- Use the right tools to remove the broken pin. Make sure you have the correct size of pliers or tweezers to avoid causing further damage to the connector.
- Apply the appropriate amount of force without causing undue pressure on the connector. Use a gentle hand and apply more pressure as needed.
- Be patient. Removing a broken pin can be a time-consuming process that requires patience and care.
Tips For Handling Connectors With Care
Handling connectors with care is essential for removing a broken pin without causing further damage to the connector. Here are some tips for handling connectors with care:
- Make sure your workspace is well-lit and free of distractions. Removing a broken pin requires concentration and focus.
- Avoid touching the other pins in the connector. Doing so can cause damage to the other pieces.
- Handle the connector gently. Avoid applying too much pressure to any part of the connector.
Removing a broken pin from a connector requires patience, finesse, and care. By avoiding common mistakes, anticipating potential complications, and handling connectors gently, you can remove a broken pin without causing further damage to the connector.
Post-Removal Care And Maintenance
Steps To Take After Successfully Removing Broken Pins
Congratulations, You successfully removed the broken pin from your connector! However, your work isn’t quite done yet. Here are some crucial steps to take after successfully removing the broken pin:
- Inspect the connector and make sure you remove any other debris or foreign objects that might be inside.
- Clean the connector thoroughly with rubbing alcohol and a lint-free cloth. This ensures that there are no contaminants left that can cause future problems.
- Check the connector for any signs of wear and tear. If you notice any damage, it’s better to replace it sooner rather than later.
How To Prevent Broken Pins From Recurring
Prevention is always better than cure. Here are some steps you can take to prevent broken pins from happening again:
- Make sure you always handle your connectors with care. Apply gentle pressure when inserting or removing them.
- Take your time when detaching connectors. Avoid any sudden or jerky motions that can cause pins to break.
- Always use the right tools for the job, and make sure they are in good working condition.
Regular Maintenance Tips To Ensure The Longevity Of Your Connectors
Regular maintenance is crucial if you want to get the most out of your connectors. Here are some tips to help you keep them in top condition:
- Inspect your connectors regularly for any signs of wear and tear.
- Clean them regularly with rubbing alcohol to prevent the buildup of dirt and debris.
- Keep your connectors in a safe place, free from moisture or extreme temperatures.
- Use high-quality connectors designed for your specific application. Cheap, low-quality connectors are more likely to break or fail.
By following these tips, you can ensure that your connectors continue to work effectively and efficiently for a long time. Remember, prevention is always better than cure, so take care of your connectors and avoid any unnecessary repairs or replacements.
FAQ
How Can I Remove A Broken Pin From A Connector?
To remove a broken pin from a connector, you can try using a pair of pliers or a toothpick. If these methods don’t work, you can heat up the connector to melt away the plastic around the pin and then pull out the pin using pliers.
Can A Broken Pin On A Connector Be Fixed?
It is possible to fix a broken pin on a connector, but the level of difficulty depends on the extent of the damage. If the pin is only slightly damaged, you can try straightening it with pliers. For more extensive damage, you may need to replace the connector.
Can Conducting Adhesive Be Used In Place Of The Broken Pin?
Conductive adhesive may work as a temporary fix for a broken pin, but it is not a long-term solution. It is better to replace the connector or fix the broken pin properly. Using conductive adhesive can lead to poor connectivity, instability, and damage to other components.
Conclusion
After reading this article, removing a broken pin from a connector should no longer seem like a daunting task. With careful attention to the broken pin’s orientation, using the right tools, and being patient, you can remove it without damaging the connector board.
Remember to take precautionary measures, like wearing safety goggles and using a magnifying glass, to protect yourself and ensure precision while handling the broken pin and connector. Additionally, if you’re not confident in removing the broken pin yourself, seek professional help.
By following these steps, you can safely and effortlessly remove a broken pin from a connector and get your device up and running in no time. Just remember to prioritize caution and accuracy, and you’ll have a functioning connector in your device in no time!