To set up a gateway laptop, follow these steps: first, power on the laptop and select your preferred language and region. Next, connect to a wi-fi network by entering the password if prompted.
Gateway laptops can be easily set up by following a few simple steps. Begin by powering on the laptop and selecting your desired language and region. After that, connect to a wi-fi network by entering the password if necessary.
Unboxing And Checking Contents
Setting up your gateway laptop begins with unboxing and checking the contents. Confirm that all items are included in the package. Check for essential accessories such as the power adapter, battery, user manual, and any additional cords or attachments. Make sure everything is in good condition and there’s no damage during the shipping process.
Inspect the laptop itself for any visible defects or issues, and report them immediately to the seller or manufacturer. Once you’ve confirmed that everything is present and in proper order, you can proceed to set up your gateway laptop and begin exploring its features and functionalities.
Enjoy your new device and make the most of its capabilities.
Charging Your Laptop
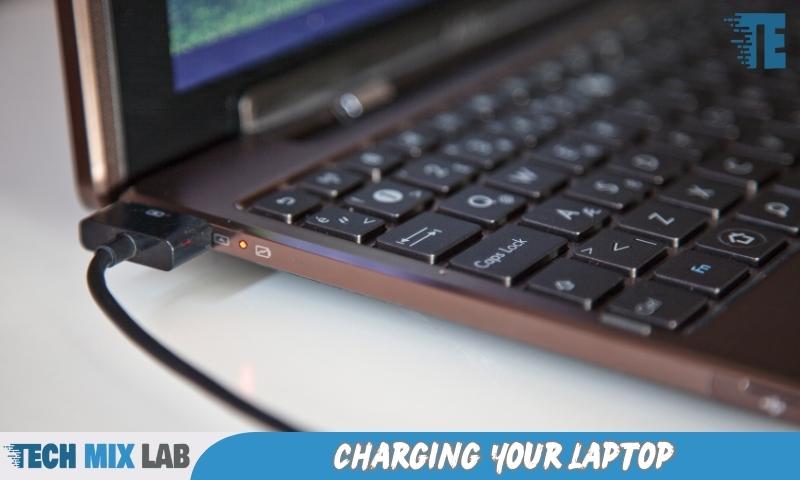
To charge your gateway laptop, simply connect the power adapter to the laptop. Make sure it is securely plugged in. Once connected, your laptop will start charging automatically. You can confirm whether the laptop is charging by looking for the battery icon on the screen.
It should show a charging symbol. Make sure to keep the power adapter plugged in until the battery is fully charged. Charging time may vary depending on the battery and laptop model. It is important to allow your laptop to charge fully before using it on battery power.
This ensures that you have enough battery life for your tasks. Remember to always use the original power adapter that came with your laptop for optimal charging performance.
Powering On And Signing In
To power on your gateway laptop and sign in to the operating system, simply press the power button. Once the laptop boots up, you will be prompted to enter your login credentials. Input your username and password accurately to gain access to the system.
Make sure to double-check your inputs to avoid any login errors. If you have set up a password hint, utilize it as a helpful reminder if needed. After successfully signing in, you will be directed to your laptop’s home screen, where you can begin using your device.
Language And Region Settings
Setting up the language and region settings on your gateway laptop is an important step. To do this, go to the control panel and click on the “clock, language, and region” option. Then, select “language” and choose your preferred language from the list.
Next, click on “region” and select your location. This will ensure that the date, time, and other settings are customized for your region. It’s important to choose the language and region settings that best suit your needs and preferences. By following these steps, you can easily set up your gateway laptop and start using it in your preferred language and region.
Connecting To Wi-Fi
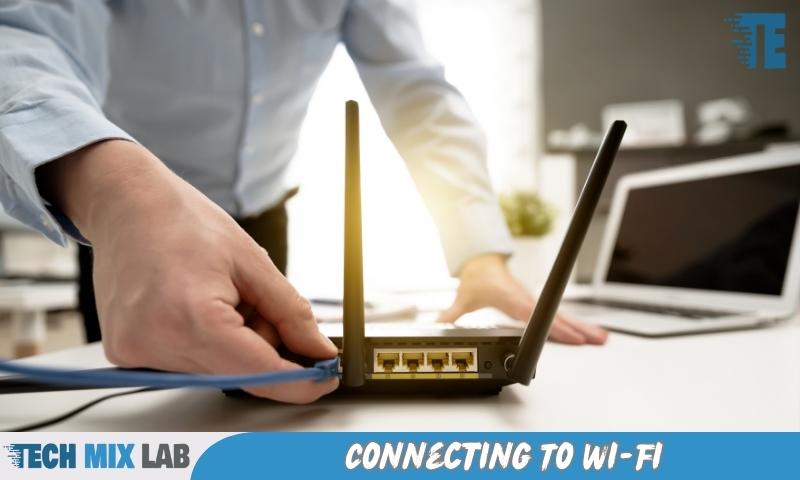
Setting up a gateway laptop involves connecting to wi-fi for internet access. To establish a wireless connection, follow these steps. First, ensure that your laptop’s wi-fi is turned on. Next, click on the wi-fi icon in the system tray and select your desired network from the available options.
Enter the network password if prompted and click “connect. ” Once connected, you should see a confirmation message. To ensure a stable connection, position your laptop within the range of the wi-fi signal and avoid any physical obstacles. Keep in mind that some networks may require additional authentication, such as entering a username and password.
Once successfully connected, you can enjoy browsing the internet and accessing online content on your gateway laptop.
Customizing Display Settings
To customize the display settings on your Gateway laptop, you can easily adjust the screen resolution and brightness. By accessing the display settings, you can fine-tune your viewing experience. To change the screen resolution, navigate to the display settings and select a suitable option that fits your needs.
You can increase or decrease the resolution to achieve a clearer or larger display. Additionally, adjusting the brightness can enhance visibility and reduce eye strain. Find the brightness settings and slide the bar to the desired level. Experiment with different brightness levels until you find the one that works best for you.
With these simple steps, you can personalize and optimize the display settings on your gateway laptop for an enjoyable computing experience.
Setting Up User Accounts And Passwords
Setting up user accounts and passwords on your gateway laptop is a crucial step in ensuring security. By creating individual user accounts, you can control access to specific files and applications. To set up strong passwords, choose a combination of uppercase and lowercase letters, numbers, and special characters.
Avoid using common passwords or personal information that can be easily guessed. It’s also a good practice to regularly change your passwords to minimize the risk of unauthorized access. By following these steps, you can enhance the security of your gateway laptop and protect your personal data from potential threats.
Personalizing Desktop And Lock Screen
In order to personalize your gateway laptop’s desktop and lock screen, you have various options to choose from. You can select different wallpapers that suit your tastes and preferences. Additionally, you can customize the desktop by arranging the icons and adding widgets or gadgets for quick access to frequently used applications.
Moreover, you can also change the lock screen background to add a personal touch. Another way to personalize your laptop is by setting up a screensaver that reflects your style and interests. Remember to regularly update and change these settings to keep your laptop looking fresh and engaging.
By personalizing your desktop and lock screen, you can create a more enjoyable and personalized user experience.
Installing Essential Software
Installing essential software on your gateway laptop is a crucial step to ensuring optimal performance. Begin by installing a reliable antivirus program to protect your device from potential threats. Additionally, install a web browser of your choice to browse the internet seamlessly.
You will also need to install other software that you regularly use, such as the Microsoft Office suite or video conferencing tools. It is important to carefully read and follow the instructions provided during the installation process. Additionally, keep your software updated to benefit from the latest features and security patches.
Remember to restart your laptop after installing each piece of software to ensure proper functioning. With these steps, you can set up your gateway laptop and make it ready for your specific needs.
Running System Updates
Running system updates is an essential step in setting up your gateway laptop effectively. By updating the operating system and drivers to their latest versions, you ensure optimal performance and security. Regular updates allow you to take advantage of the latest features, bug fixes, and enhancements offered by the manufacturer.
To run system updates on your gateway laptop, navigate to the settings menu and locate the “update & security” option. Click on it and select “check for updates. ” The system will then search for any available updates and prompt you to install them.
It’s crucial to stay up to date with these updates to maintain the smooth functioning of your laptop and protect it from potential vulnerabilities.
Configuring Firewall And Antivirus Settings
Setting up firewall and antivirus settings is crucial for ensuring enhanced security on your gateway laptop. By configuring the firewall, you can control incoming and outgoing network traffic, protecting your device from potential threats. Additionally, enabling the antivirus software will defend against malware, viruses, and other malicious programs.
To start, access the firewall settings on your laptop and enable it to filter network traffic effectively. Next, install a reliable antivirus program and update it regularly to keep up with the latest security patches. Make sure to set up automatic scans and real-time protection for continuous monitoring.
By following these steps, you can create a secure environment for your gateway laptop, safeguarding your personal information and data effectively. Remember, regular updates and maintenance are essential to keeping your security measures up-to-date.
FAQ
How Do I Set Up My Gateway Laptop?
To set up your gateway laptop, simply follow the on-screen instructions provided in the user manual.
Conclusion
Setting up your gateway laptop is a relatively straightforward process that can be done by following a few essential steps. Whether you are a tech-savvy individual or someone who is new to laptops, this guide has provided you with the necessary information to get started.
From preparing your laptop for use to connecting to the internet and personalizing your settings, each step has been laid out in a clear and concise manner. By ensuring that you have all the required hardware, software, and information handy, you can avoid any potential challenges along the way.
Additionally, by keeping your laptop updated and implementing proper security measures, you can protect your device and enjoy a seamless user experience. With the convenience and versatility that gateway laptops offer, you can now confidently embark on your digital journey.
Happy laptop setup!