To delete recordings on Dish Hopper 3, navigate to the DVR menu, select “My Recordings,” choose the recordings you want to delete, and then press the “Delete” button. The Dish Hopper 3 allows you to easily manage and remove recordings from your DVR.
Whether you want to free up space or remove content you no longer need, this feature ensures a seamless user experience. By following a few simple steps, you can quickly delete any unwanted recordings and stay organized with your entertainment choices.
Understanding The Dish Hopper 3 Interface
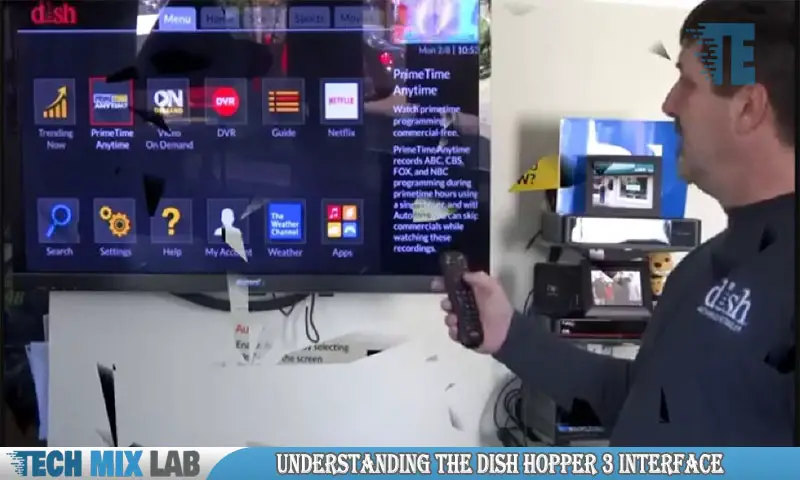
The Dish Hopper 3 has a feature-rich interface with a user-friendly menu. It allows you to navigate through various options effortlessly. One of the important tasks you may want to perform is deleting recordings. Deleting recordings on the Dish Hopper 3 is a straightforward process.
Simply select the recordings you want to delete from the menu and follow the prompts to confirm your choice. The interface provides clear instructions and options to ensure that you can manage your recordings easily. By understanding the Dish Hopper 3 interface, you can make the most of its capabilities and efficiently manage your recorded content.
Whether you are new to the Dish Hopper 3 or a seasoned user, the interface is designed to simplify your experience and offer you control over your recordings.
Locating The Recordings Section
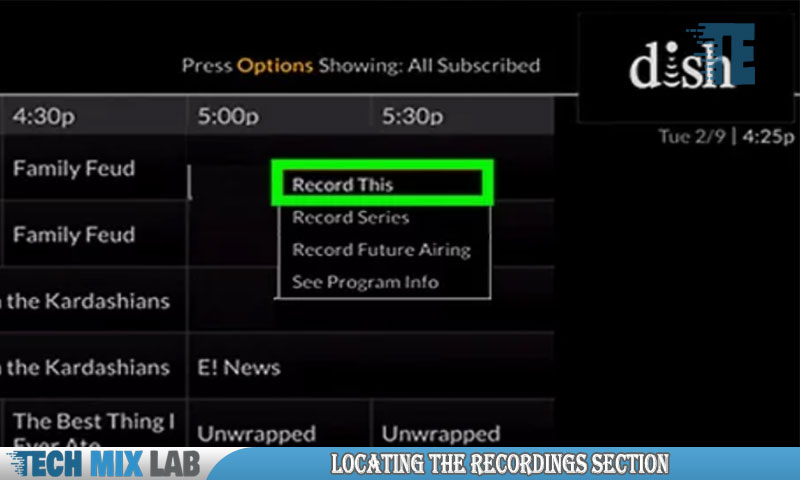
To delete recordings on the Dish Hopper 3, first locate the Recordings section. Once you’ve found it, accessing the section is quite simple. You’ll then be able to see the different categories within the Recordings section, which can help you organize your recordings better.
Whether you want to delete individual recordings or clear an entire category, the process is straightforward. With just a few clicks, you can free up space on your Dish Hopper 3 and remove recordings you no longer need. Take control of your recordings and enjoy a clutter-free entertainment experience.
Deleting Individual Recordings
Deleting individual recordings on a Dish Hopper 3 is a straightforward process. To select a specific recording for deletion, navigate to the My Recordings menu. From there, find the desired recording and highlight it. Next, press the options button on your remote control.
A menu will appear, and you should select the option to delete the recording. Finally, confirm the deletion process when prompted. Following these steps ensures that the selected recording is permanently removed from your Dish Hopper 3. With this simple and effective method, you can easily manage and maintain your recorded content on the Dish Hopper 3 without any hassle.
Deleting Multiple Recordings At Once
Deleting multiple recordings at once on the Dish Hopper 3 is a convenient feature that saves time and effort. With this functionality, you can remove multiple recordings in one go, simplifying the task. However, it is essential to exercise caution to avoid deleting recordings unintentionally.
Before deleting, carefully review the list of recordings and ensure that you have selected the correct ones. Double-checking your selection can prevent any accidental deletions. Taking this extra step can give you peace of mind and help keep your recorded content intact.
Embracing these guidelines will enable you to manage your recordings effectively and streamline your Dish Hopper 3 experience.
Setting Up Automatic Deletion
Automatic deletion of recordings on Dish Hopper 3 can be easily set up. To enable the Auto-Delete feature, navigate to the Settings menu. From there, choose the option for Auto-Delete and toggle it on. This will ensure that the system automatically removes recordings that meet certain criteria, such as being watched or not watched within a specified time frame.
Furthermore, you can customize the Auto-Delete settings to suit your preferences. By accessing the Recording Defaults menu, you can adjust parameters like the default time to keep recordings and the maximum number of recordings to retain. By following these steps, you can efficiently manage your Dish Hopper 3 recordings and clear up space for new content.
Recovering Deleted Recordings
Recovering deleted recordings on Dish Hopper 3 involves understanding the Recycle Bin feature.
Managing Storage Space
To manage the storage space on your Dish Hopper 3, it is important to regularly check the available storage. This will help you keep track of how much space you have left for recordings. Optimizing storage space can be achieved by following a few tips.
Firstly, consider deleting unnecessary recordings that you no longer need. Secondly, prioritize which recordings are important and delete any duplicates. Additionally, take advantage of the “AutoDelete” feature, which automatically deletes the oldest recordings to free up space. Furthermore, you can adjust the settings to record at a lower quality to save storage space.
Lastly, consider connecting an external hard drive to expand the storage capacity of your Dish Hopper 3. By applying these strategies, you can efficiently manage and optimize the storage space on your device.
Troubleshooting Common Issues
In order to troubleshoot common issues when deleting recordings on Dish Hopper 3, it is important to be aware of potential problems that may arise. One possible issue could be a lack of available storage space, which can prevent successful deletion.
To address this, try deleting unwanted recordings or consider upgrading to a larger storage option. Another issue could be a malfunctioning remote control, which may hinder your ability to navigate the menu and delete recordings. In this case, troubleshooting the remote control or replacing it could be necessary.
Additionally, network connectivity problems could also impact the deletion process. Ensure that your Dish Hopper 3 is properly connected to the internet and troubleshoot any network issues that may arise. By following these troubleshooting steps, you should be able to successfully delete recordings on your Dish Hopper 3.
Conclusion
Deleting recordings on the Dish Hopper 3 is a simple and essential task for managing your media playback. By following the steps mentioned in this blog post, you can easily navigate through the user-friendly interface and effortlessly delete unwanted recordings.
With just a few clicks, you can free up space and ensure a smoother viewing experience. Remember to double-check the recordings you select to delete, as this action cannot be undone. By regularly managing your recordings, you can optimize the functionality of your Dish Hopper 3 and keep it running smoothly.
Whether you want to clear up space for new recordings or simply remove old content, mastering the art of deleting recordings on the Dish Hopper 3 is an essential skill for any user. Start decluttering and enjoying a more streamlined media experience today.